Face Swap with Stable Diffusion and Roop: A Simple Path to Facial Manipulation
In the world of artificial intelligence and machine learning, there are always new and exciting developments. One of these is the ability to swap faces in images or videos, also known as “Face Swap”. In this post, I want to share my experiences using Stable Diffusion and the extension “Roop” for this purpose.
Table of contents
What you need
Stable Diffusion is a powerful tool that operates on the basis of deep learning. It allows for a variety of image-to-image transformations, including Face Swap. To further enhance this, I also used the Roop extension, which offers additional control options.
To get started, I followed a helpful video I found on YouTube. It provides a detailed guide on how to use Stable Diffusion in “img2img” mode with ControlNet and Roop for Face Swap. Here is the link to the video: Face Swap with Stable Diffusion and Roop.
For those interested in the technical details, I set up Stable Diffusion via the web-ui from AUTOMATIC1111, which is available on GitHub. Here is the link to the repository: Stable Diffusion web-ui.
After setting everything up, I was amazed at how quickly the process runs. In just a few seconds, I was able to create impressive face swaps. It’s truly amazing what can be achieved with the right tools and a little patience.
Example Face swap
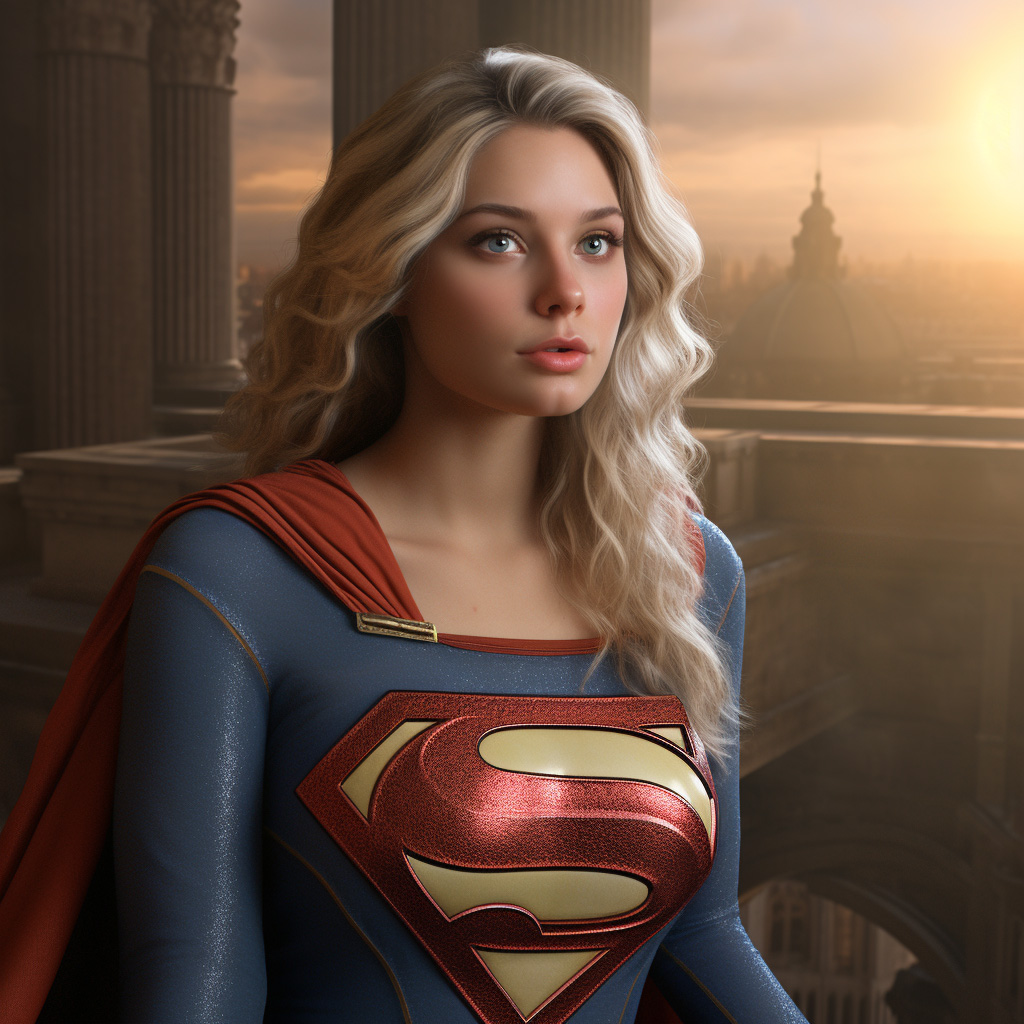
Now, I would like to illustrate the process with an example. First, I generated an example image using Midjourney. The prompt was “Supergirl, Michelangelo style, 8k”. Here is the image from Midjourney:
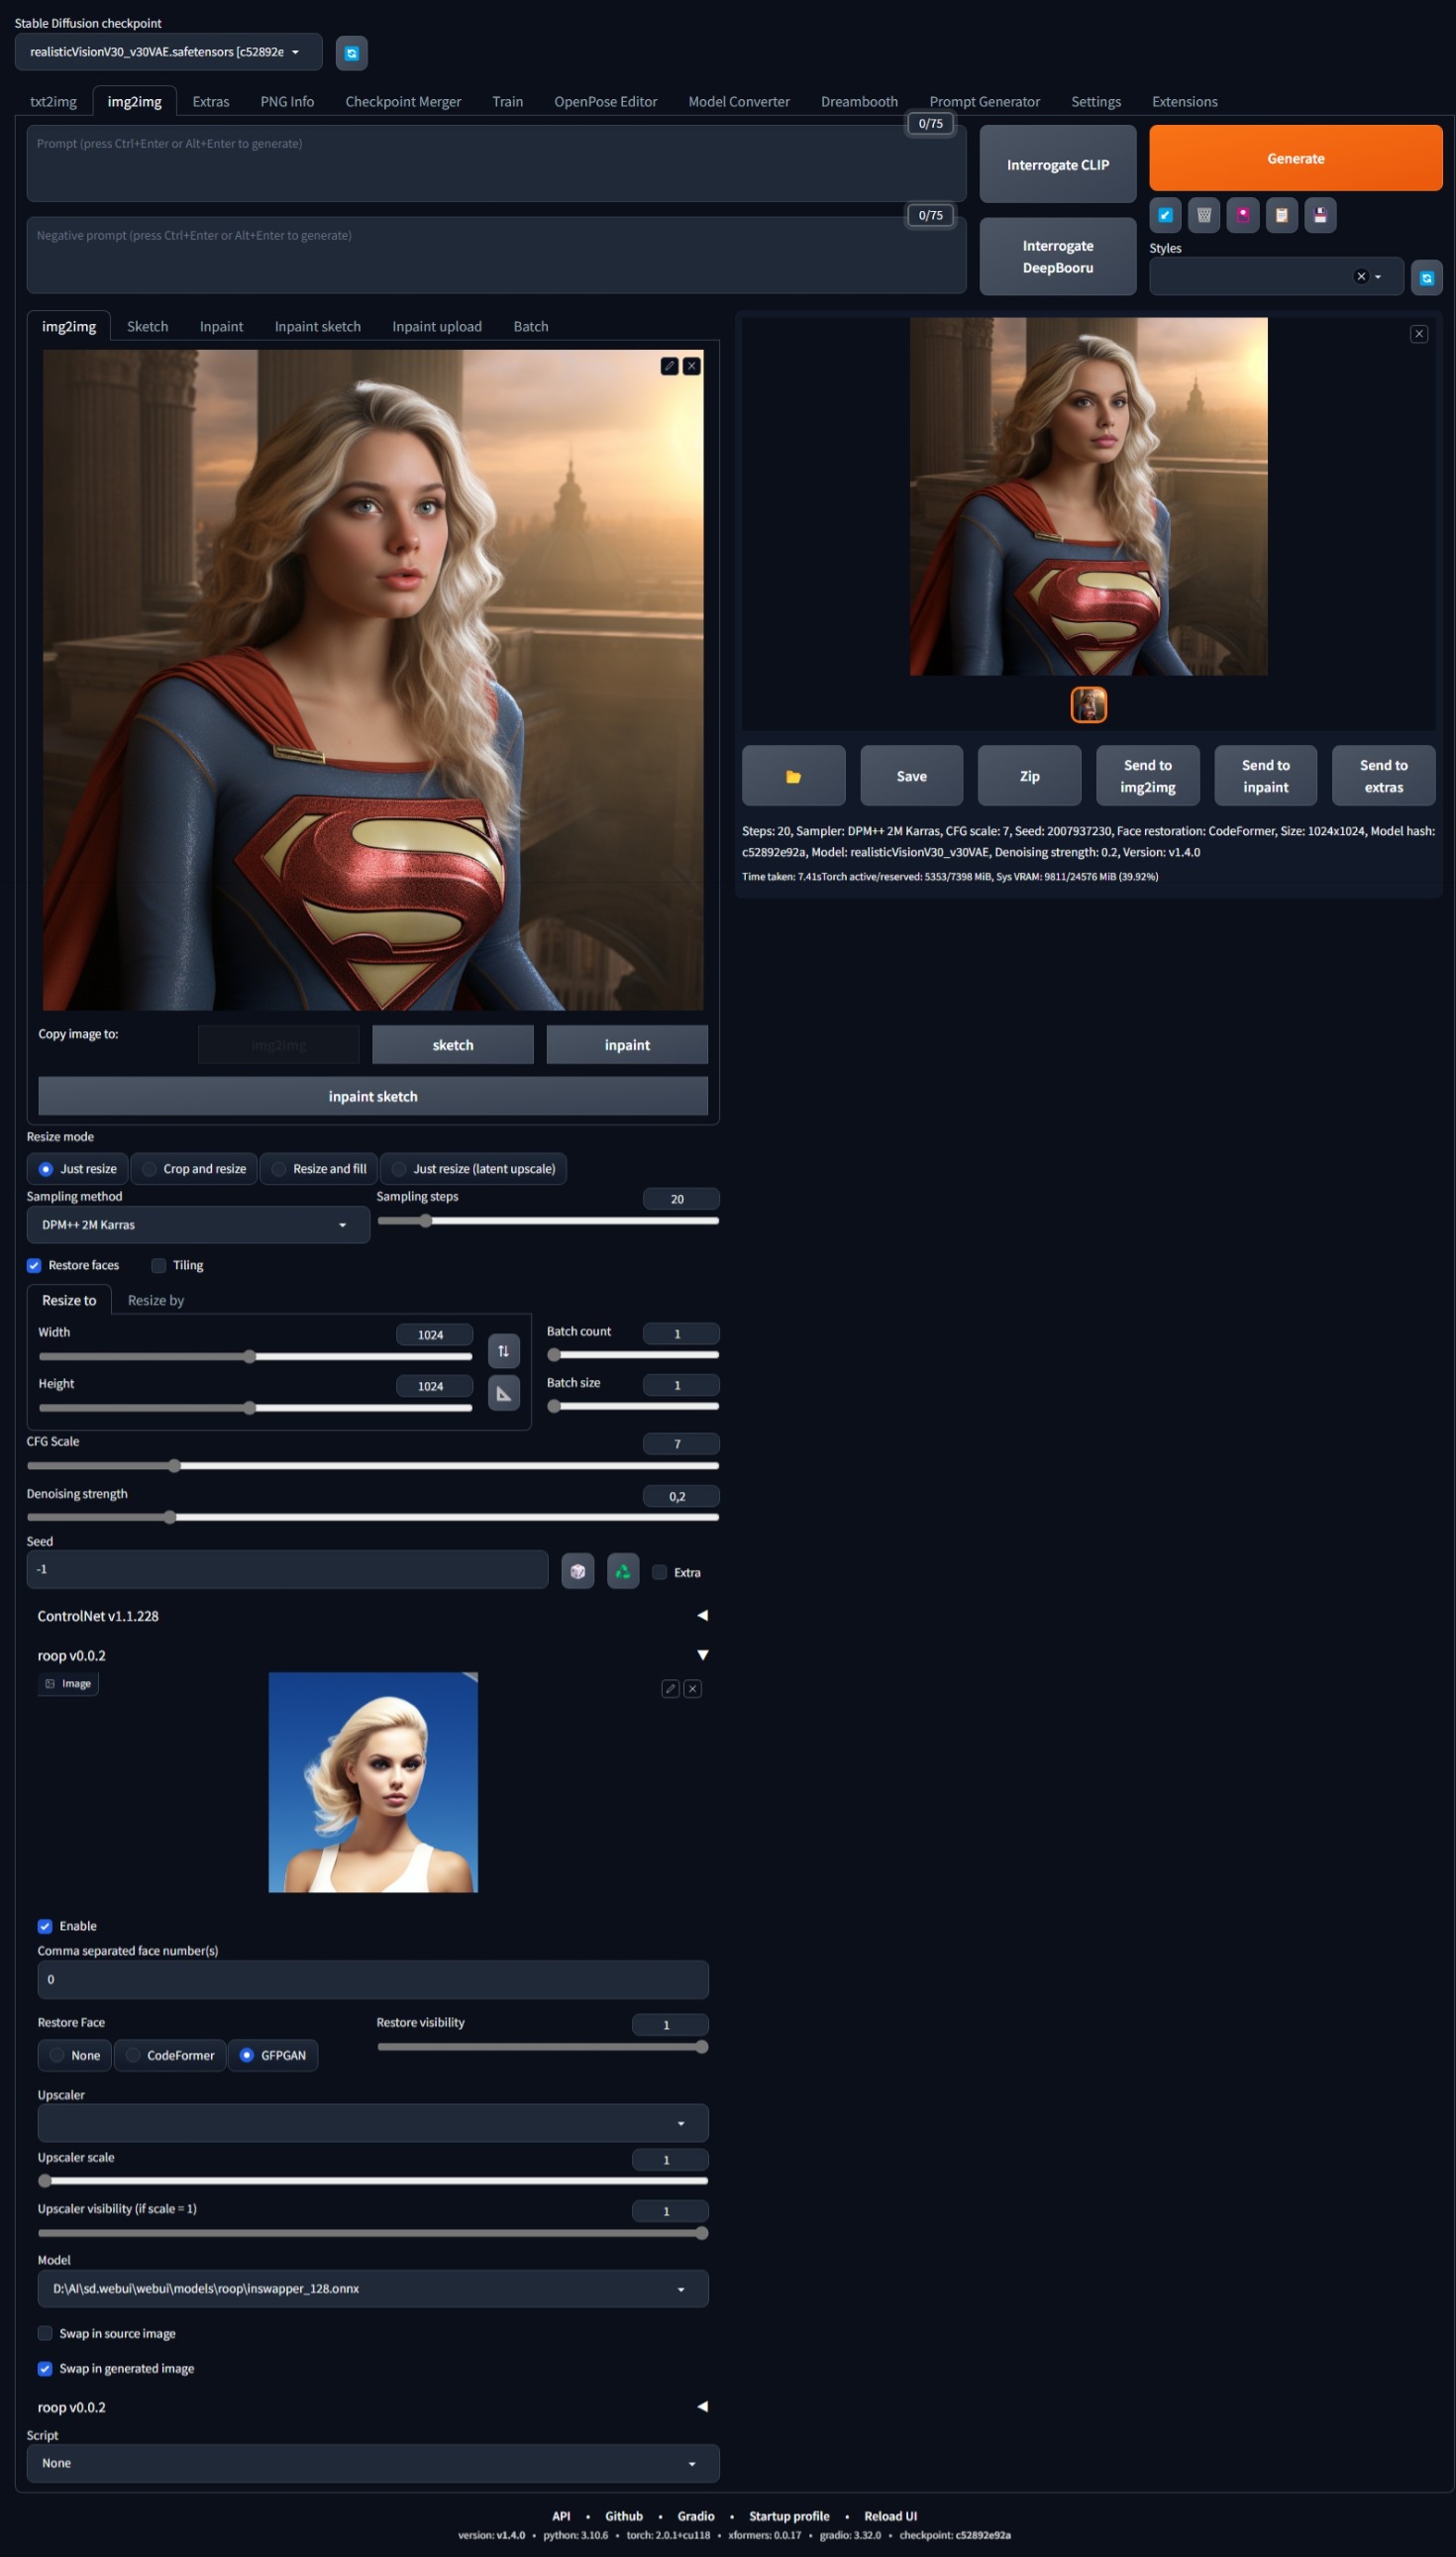
Next, I loaded the image into the img2img module in Stable Diffusion. I set the following settings:
- Model:
realisticVisionV30_v30VAE - Sampler:
DPM++ 2M Karras - Face restoration:
activated - Resize to:
1024 x 1024(same as original image)
Then, I loaded an image of another face into Roop and set the following settings:
Enable- Restore Face:
GFPGAN
The generation of the final image took only a few seconds. Here is the modified image:

This step-by-step process shows how easy it is to create a face swap using Stable Diffusion and Roop. The results can be quite impressive, and the whole process takes just a few seconds once everything is set up.
Tips from the Roop GitHub
Getting good quality results
First of all, make sure the “Restore Face” option is enabled. You can also try the “Upscaler” option or for more finer control, use an upscaler from the “Extras” tab.
For even better quality, use img2img with denoise set to 0.1 and gradually increase it until you get a balance of quality and resembelance.
Replacing specific faces
If there are multiple faces in an image, select the face numbers you wish to swap using the “Comma separated face number(s)” option.
Conclusion
In conclusion, I want to say that the combination of Stable Diffusion and Roop provides a powerful solution for Face Swap and other image-to-image transformations. It does require a bit of technical know-how to set everything up, but the results are definitely worth it. I look forward to experimenting more with these tools in the future and seeing what else is possible.